
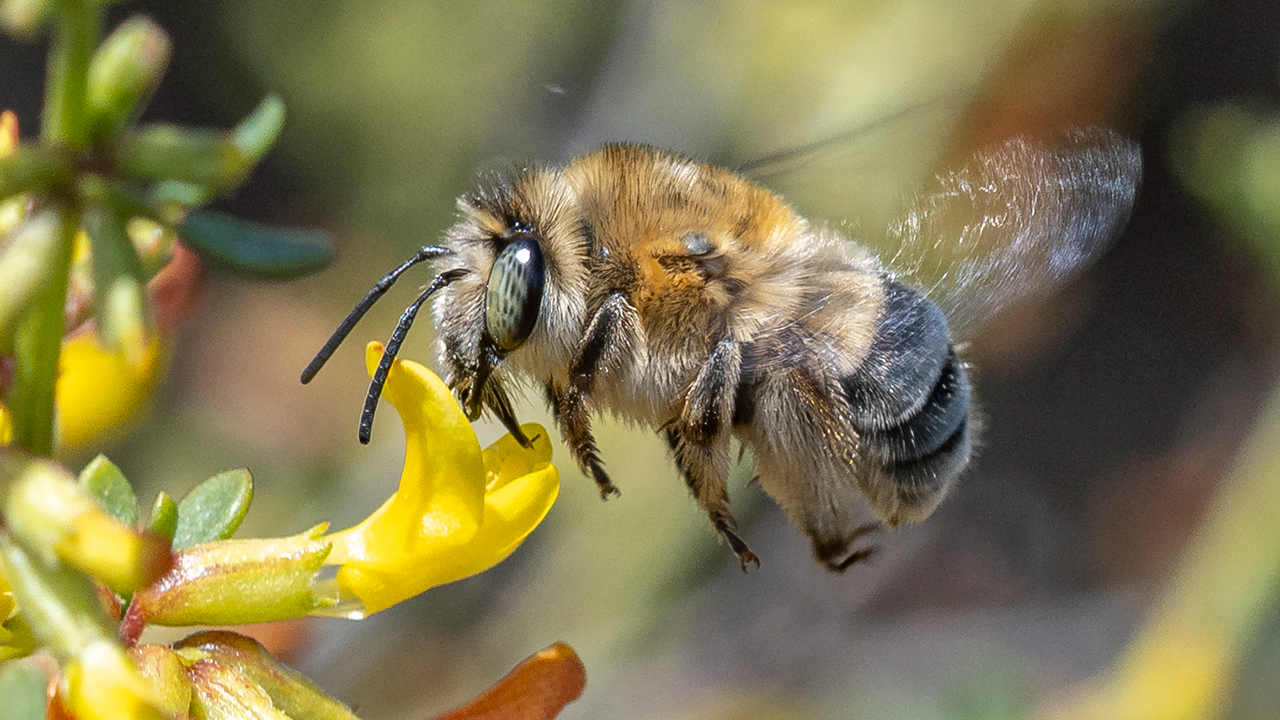
Photographing native bees can help researchers, educators, and community scientists better understand local pollinators. Use these tips to stay safe, get better photos, and upload useful observations to iNaturalist.
Safety First
Stay on the trail and watch where you step. Depending on the area, there may be hazards such as rattlesnakes, scat, cactus, poison oak, uneven ground, or other trail risks.
Finding Bees
Check a variety of flowers, including small flowers and “weeds.” Look for dark spots, movement, or different colors on the flowers. Sometimes the best approach is to follow one moving insect and watch where it lands.
Native bees may also be found on the ground. Females may be near nests, and males may be resting. Since they are often still when on the ground, this can create a good photo opportunity.
How to Approach Pollinators
Some pollinators spook easily. Start taking photos from farther away, then slowly move closer while continuing to take photos.
- Lean forward or squat instead of stepping closer when possible.
- Watch your shadow, since it can scare insects away.
- Consider turning off your phone or camera shutter sound.
- Move slowly and avoid sudden movements.
What to Photograph
Try to capture features that can help with identification, including:
- Abdomen patterns
- Wing lines and patterns
- Eye color
- Face size, shape, and pattern
- Legs
- Different angles of the insect
Photos in flight can sometimes be helpful because wings may cover details while the insect is resting. A flying photo can reveal parts of the abdomen or body that are otherwise hidden.
Researchers may also want to identify the plant the pollinator is visiting, so include at least one photo that shows more of the plant.
Photography Tips
- Start with fully charged equipment.
- Take lots of photos. You can delete unhelpful ones later.
- Photograph the pollinator when it is still, flying, and visiting different flowers.
- Start from farther away and keep shooting as you move closer.
- Kneel or get to the level of the flower or insect when possible.
- Use a fast shutter speed for fast-moving bees or windy conditions.
- Use more depth of field when photographing still pollinators.
Cell Phone Photography Tips
- Avoid zooming too far, since image quality may suffer.
- Try locking focus by pressing on the screen.
- Once focus is locked, gently move the phone forward or backward until the bee appears sharp.
- Consider taking video, then later freeze frames to capture useful images.
- Some people carry ice packs to help prevent phones from overheating.
Taking a quick photo of the ground, your foot, or a trail marker can also help separate groups of photos or remind you where you were when observations were made.
Processing and Selecting Photos
- Crop photos enough to show details, but not so much that the image becomes blurry.
- Place the bee near the center of the image so iNaturalist’s AI can better recognize it.
- Choose photos that show useful ID features, even if one of them is slightly blurry.
- If you photographed multiple bees of the same type, look for differences such as pollen color or amount.
- Put different bees in separate observations.
Posting Photos to iNaturalist
Uploading through the iNaturalist browser is often more efficient than using the phone app. You can use the browser on a computer or phone. If you prefer uploading with the app, you can still go back later in the browser to update observations, add fields, and assign projects.
- Drag the best photo in first so it becomes the cover image.
- iNaturalist’s AI uses the cover photo, so choose the clearest one.
- You can add up to 20 photos per observation.
- Avoid adding identical photos.
- Include multiple angles or photos showing different useful features.
- Include at least one wider photo showing the plant when possible.
Bulk Uploading
If you add multiple observations in the same upload window, you can apply projects, observation fields, and locations to multiple observations at once. Use the “Select All” checkbox or select individual observations as needed.
If your phone or camera captures GPS data, the location may appear automatically. If not, manually add a starting location, then adjust individual observations as needed based on where they were found along the trail.
Initial Identification
Before submitting, iNaturalist will ask for an initial identification. You can enter something general such as “bee” or “insect.” Suggestions are helpful, but they are not always accurate.
After submitting, if other identifiers suggest a different ID and you are not confident in your original ID, it is good practice to withdraw your identification.
Observation Fields and iNaturalist Projects
As you observe bees, note interesting behaviors and consider contributing to related iNaturalist projects, such as:
- Sleepy bee slumber parties
- Nesting bees
- Ground-nesting bees
- Bees gathering nesting material
- Mating bees
- Bees concentrating nectar
Recommended Observation Fields
- Interaction → visited flower of: Add the plant species, common name, genus, or genus and species.
- Robbing Nectar: Select “Yes” if the insect is feeding from the corolla base through a hole cut into the floral tube.
For each individual observation, you can assign projects and observation fields. If you have not used a project before, you may need to join it first by selecting “Projects” from the “Community” menu, searching for the project name, and clicking “Join.”
When bulk uploading, you can select multiple bee observations from the same plant and assign the “Interaction → visited flower of” observation field to all of them before submitting. This can save a lot of time.